Sunday, July 11, 2010

0 WEEKEND CAT BLOGGING #266

This week, Breadchick and LB at "The Sour Dough" (USA) are happy to announce that they are hosting Weekend Cat Blogging #266...

To submit your kitty picture(s), you can either leave a message in their blog's comment section (with your permalinks) or contact them via e-mail without forgetting to give all the needed information.

Kiki King 1.4 bis

Friday, July 9, 2010

0 CURRY & ONION CHAPATIS

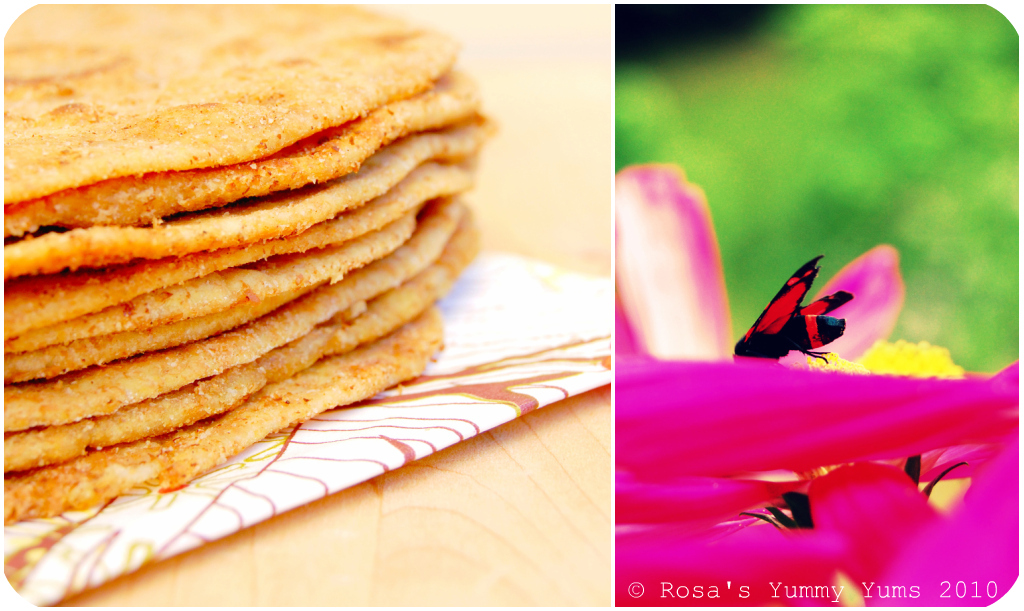
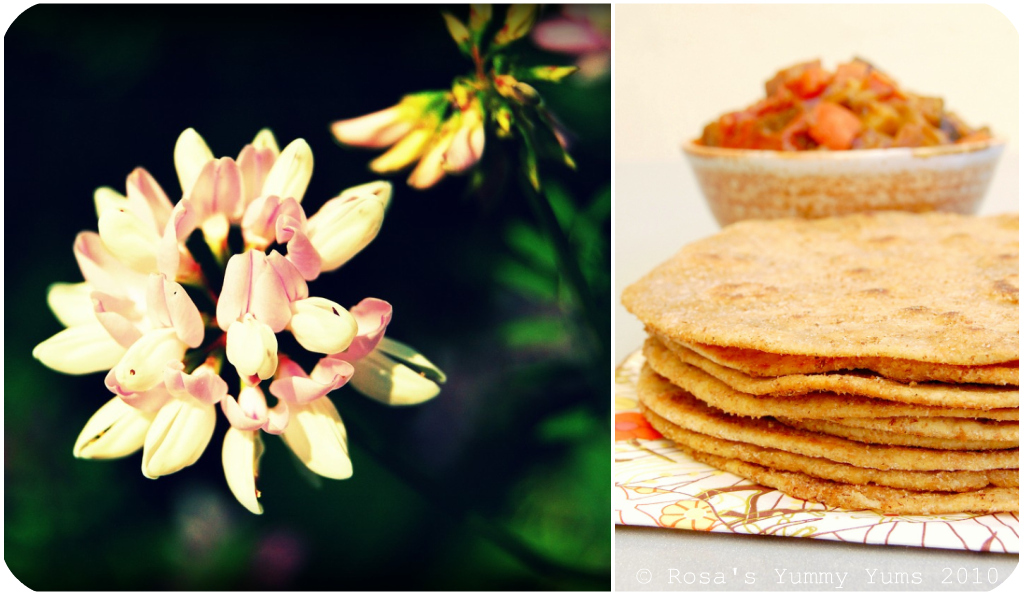
Chapatis Picnik collage 1 Bis
During the summertime we all want to eat lighter dishes and we can't get bothered to steam up the kitchen by cooking for hours without end. Generally, we prefer refreshing foods that are fuss free. It is for that reason that most people particularly enjoy wraps which are not only delicious, but also very practical whether we are having a relaxed meal at home, a party, a picnic, organizing a happy hour or watching our favorite series/sports show on TV...

As I had made a ras-el-hanout ratatouille (home recipe) with all the lovely seasonal and regional vegetables (fresh garlic, onions, eggplants, zucchinis, red bell pepper and tomatoes) I had bought, I thought that it would be a great idea to use it as a filling in some kind of flatbread.

Although I love Mexican flour tortillas I wanted to make something else so I decided upon preparing "Chapatis" which we had not eaten for quite a while. I had made that Indian speciality a lot in the past, but had somehow forgotten about it. Time to go back to an old classic.

"Chapatis" are pan-fried, unleavened flatbreads which are also known under the name "Roti" and which hail from the Indian subcontinent. Similar versions of this fingerfoood can also be found in Africa (Kenya, Uganda, Ghana and Tanzania) and Turkestan. They are made with whole wheat flour, water (or milk), salt and a little ghee, and can be flavored as wished (onions, chilli, bell pepper, garlic, coconut milk, grated coconut, garam massala, etc...). Traditionally, "Chapatis" are used along with fingers to scoop up Indian foods such as vegetables, chutneys, raitas, stews and curries.

This time instead of following a recipe to the letter I prefered to invent mine on the basis of what I saw, tested in the past and read. I love "Onion Chapatis" and came to the conclusion that it would be great if I added some curry powder and a little garlic powder to them. The result was fantastic.

These "Curry & Onion Chapatis" were so fragrant, addictive and delicious. The flavor was exhalirating and the texture was heavenly. Pure Indian bliss!

Chapatis 3 ALONE bis
~ Curry & Onion Chapatis ~
Recipe by Rosa @ Rosa's Yummy Yums 2010.


Makes 10 chapatis.


Ingredients:
250g Whole wheat flour (+ more for rolling)
1 Tsp Sea Salt
1 1/2 Tsp Mild or hot curry powder
1/2 Tsp Garlic powder
1/3 tsp Chilli powder (optional)

A pinch Freshly ground black pepper
2 Tsp Ghee or melted butter
200ml Milk (see remarks)
1 Medium White onion, finely chopped
1/2 Tsp Sea salt
Ghee or melted butter to fry the chapatis


Method:
1. Put the Flour, salt, curry, garlic, chilli powder (if used) and ground pepper in a bowl. Whisk.
2. Add the milk and 2 tsp ghee.
3. Mix thouroughly in order to get a ball of dough.
4. Knead for about 10 minutes until you g
et a smooth dough.
5. Let the dough rest in a fresh place for about 30 minutes.
6. Meanwhile, mix the salt and onions together and let rest.

7. Knead again the dough thouroughly, then divide it into 10 pieces.
8. Squeeze out the liquid out of the onions.
9. Flatten the piece of dough into a 2.3 inches (6cm) round, add 3/4 tsp onions, fold the dough over and shape into a ball.

10. Roll out carefully into a 6.2 inches (16cm) round.
11. Grease a heavy-based frying pan
with ghee or melted butter and place over medium high heat.
12. Add one chapati at a time and cook until blisters appear, then turn and cook on t
he other side until golden brown.
13. Brush the chapati with a little ghee or melted butter and serve hot.

Chapatis Picnik collage 2 bis
Remarks:
Instead of using milk, you can use water or a mixture of milk and water. Keep in mind that milk makes the chapatis softer.
If the dough is too sticky, then add a little flour.
The more you knead the dough, the smoother the it becomes and the smoother the dough is, the softer the chapatis

Serving suggestions:
Serve those Chapatis with Indian vegetables (raw or strir-fried), chutney, raita, stew and curry. You can also fill them with whatever you like (ratatouille, grated cheese like cheddar, Philadelphia, fish, salad, colslaw, hummus, chilli con carne, etc...).

~~~~~~~~~~~~~~~~~~~~~~

~ Chapatis Curry et Aux Onions ~
Recette par Rosa @ Rosa's Yummy Yums 2010.

Pour 10 chapatis.

Ingrédients:
250g de Farine complète (+ pour abaisser la pâte)
1 CC de Sel de mer

1 1/2 CC de Poudre de curry doux ou fort
1/2 CC d'Ail en poudre
1/3 CC de Poudre de piment
1 pincée de Poivre noir moulu
2 CC de Ghee ou de beurre fondu

200ml de Lait (voir remarques)
1 Oignon blanc (moyen), haché finement

1/2 CC de Sel de mer
Ghee ou du beurre fondu pour cuire les chapatis

Chapatis Picnik collage 3 bis
Méthode:
1. Mettre la farine, le sel, le curry, l'ail, la poudre de piment (
si utilisée) et le poivre dans un bol, puis mélanger.
2. Ajouter le lait et 2 CC ghee.
3. Bien mélanger afin d'obtenir une boule de pâte.
4. Pétrir
la pâte pendant 10 minutes, jusqu'à ce qu'elle soit moelleuse.
5. Laisser reposer la pâte au frais pendant 30 minutes.

6. Pendant ce temps, mélanger le sel avec les oignons. Laisser mariner.
7. Pétrir la pâte quelques minutes encore et la diviser en 10 pâtons.
8. Presser les oignons afin que d
u liquide en sorte.
9. Applatir les pâtons afin d'obtenir un rond de pâte de 6cm de diamètre, ajouter 3/4 CC d'oignons et replier la pâte afin d'obtenir une boule.
10. Abaisser la pâte en une galette ronde de 16cm de diamètre.
11. Graisser la poêle à frire avec le ghee ou le beurre fondu et mettre à chauff
er à température moyenne (6 sur 10).
12. Ajouter un chapati et faire frire jusqu'à ce que des "cloques" se forment. Retourner le chapati et cuire jusqu'à ce que la galette soit dorée.
13. Peindre avec un peu de ghee ou beurre fondu et servir chaud.

Remarques:
Au lieu d'utiliser du lait, vous pouvez utiliser de l'eau ou un mélange des deux. N'oubliez pas que le lait rend les galettes encore plus souples et moelleuse.
Si la pâte est trop collante, alors ajoutez un peu de farine.
Plus vous pétrissez la pâte, plus les chapatis seront moelleux

Chapatis Picnik collage 5 bis
Idées de présentation:
Servir ces galettes avec des légumes (cuits ou crus), du chutney, de la raïta, du ragoût et du curry. Vous pouvez aussi les remplir avec ce qui vous plaît (ratatouille, fromage rapé/cheddar, Philadelphia, poisson, salade, coleslaw, Houmous, etc...).

Wednesday, July 7, 2010

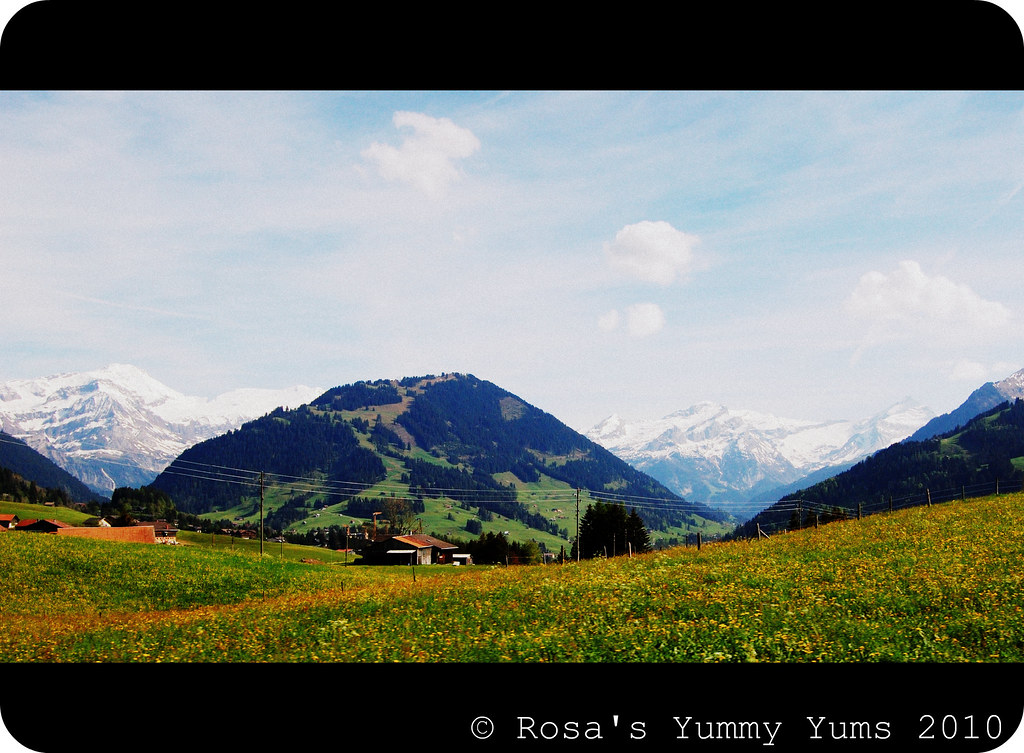
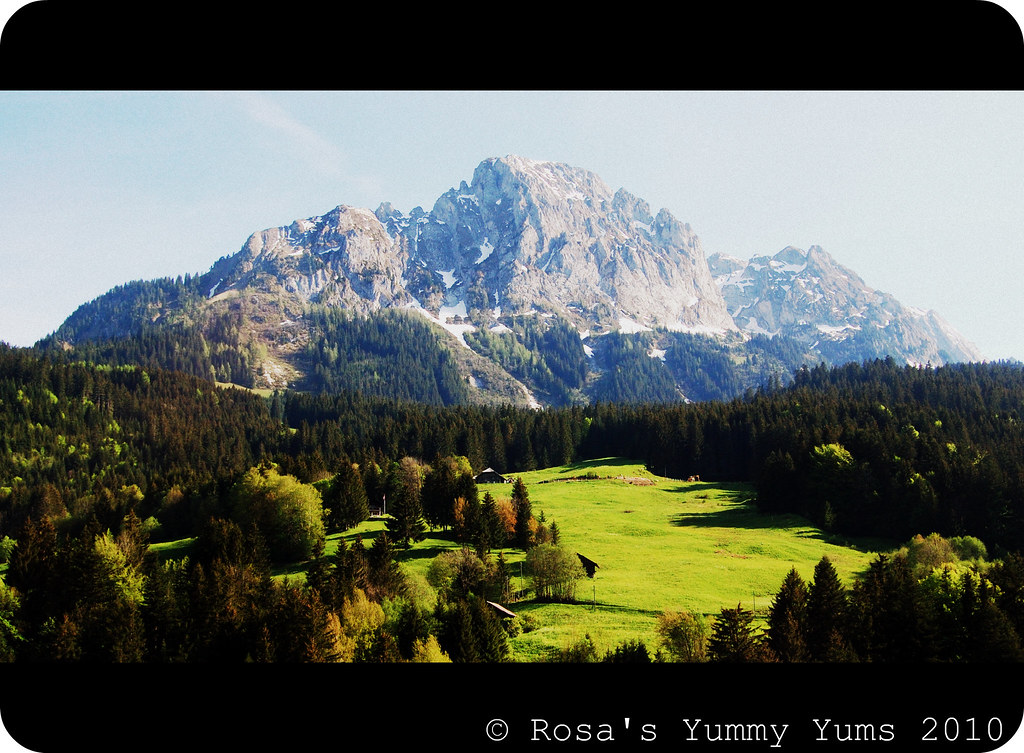
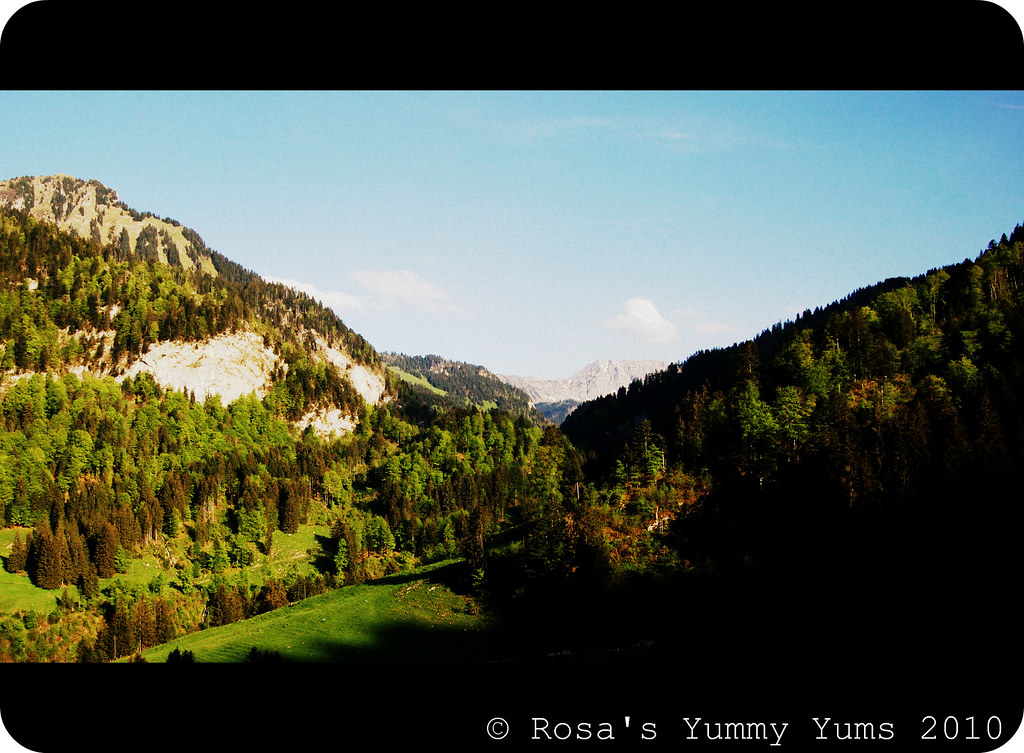
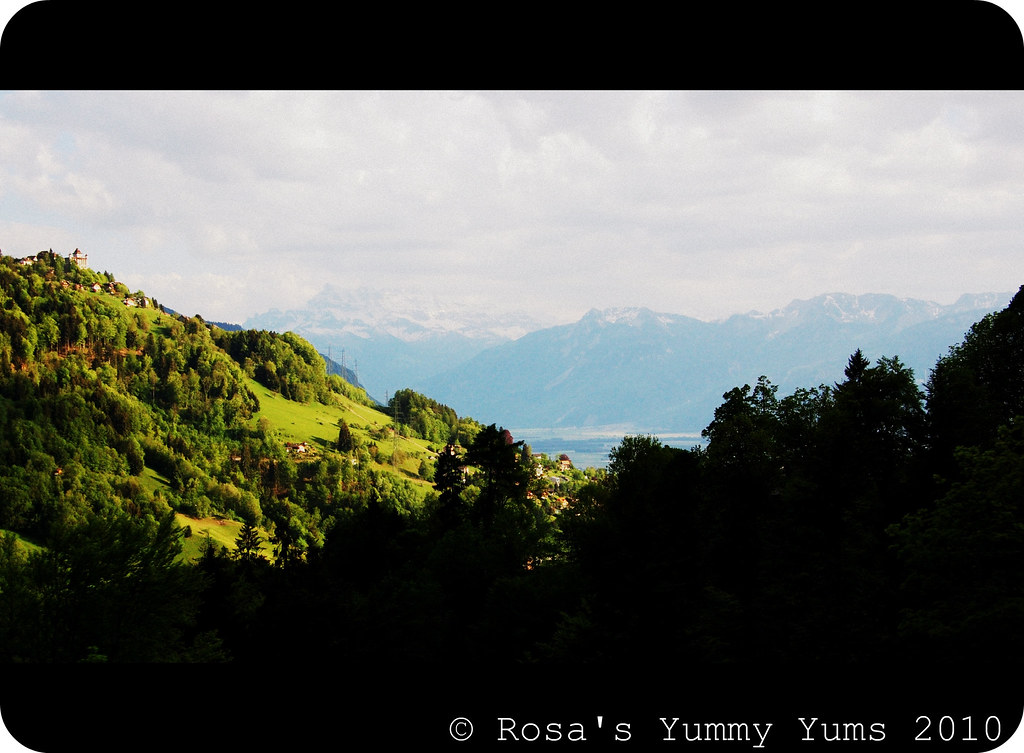
0 ZWEISIMMEN - ON THE WAY BACK

My trip to Zweisimmen continued and finished...

Zweisimmen 45.2 bis

Zweisimmen 46.2 bis
Well, here I am posting my final batch of pictures related to my one day trip to Zweisimmen (post 1, post 2, post 3, post 4 & post 5). I am so glad that you have been following me through this series of posts dedicated to the Bernese Oberland...

Zweisimmen 47 bis

Zweisimmen 48 bis
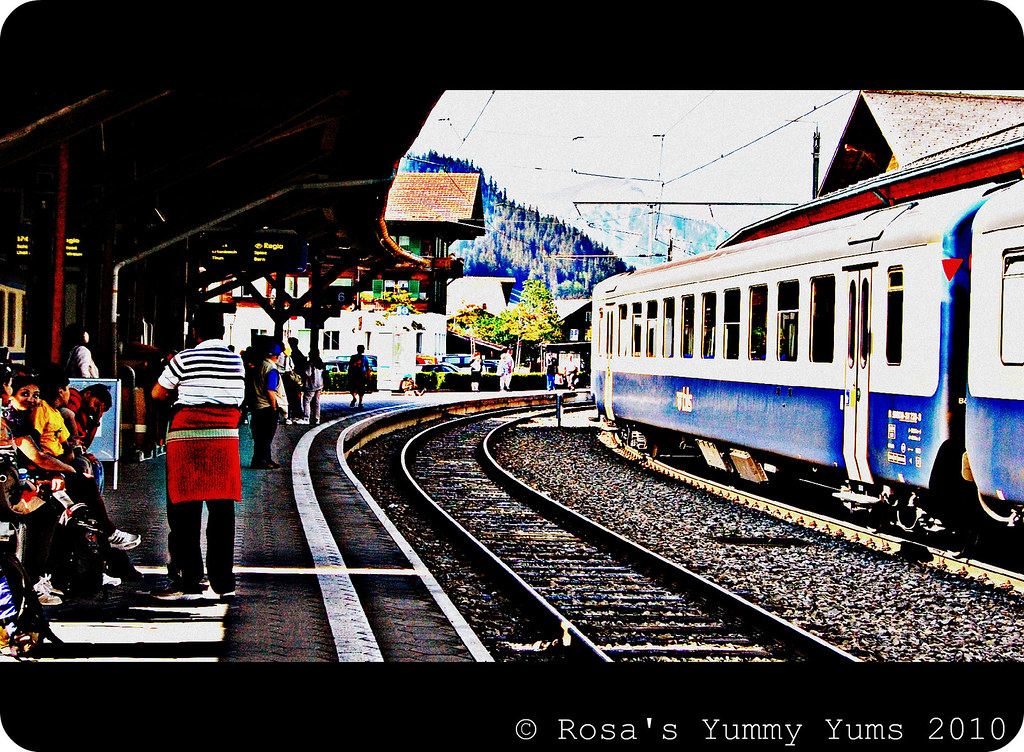
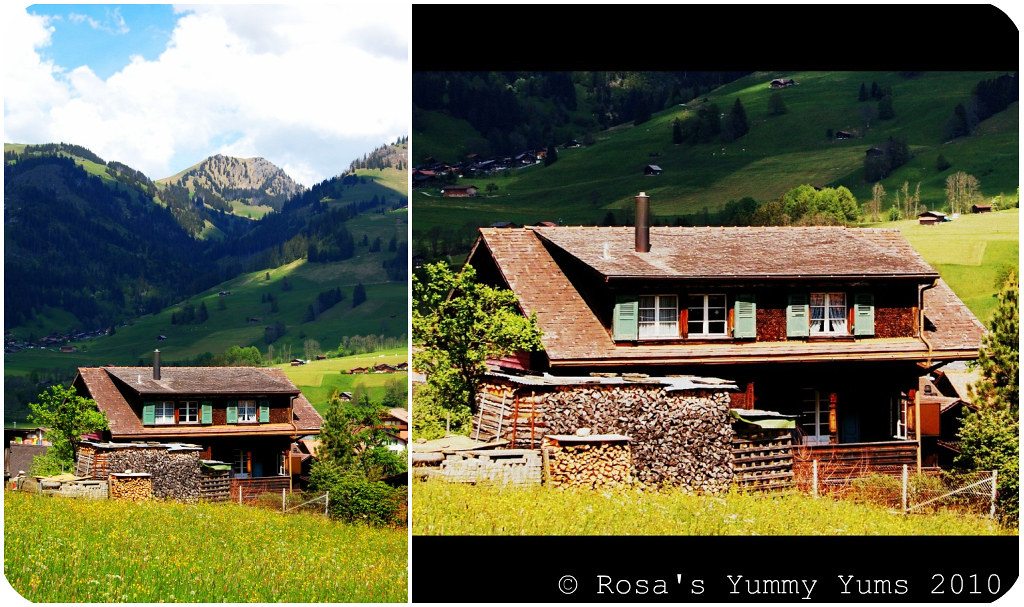
After having roamed the Zweisimmen area for most of the day it was time for us to catch our train (MOB/GoldenPass line) for our 2 hour journey back to Montreux. With a heavy heart we left that little paradize. We really wanted to stay longer in that charming, peaceful and soul-uplifting place!

Zweisimmen 49 bis
Anyhow, we had to go back home so we bravely got on the train and sat patiently in the air-conditioned and comfortably furnished passenger compartment. Then, the train started to move, climb up on the side of the Rinderberg mountain and head out of the Simmental Valley in the direction of Gstaad, Château d'Oex, Montbovon and Montreux.

Zweisimmen 50 bis

Zweisimmen 52.1 bis
So, for the next two hours we went through three magnificent cantons (Bern, Fribourg - Haute Gruyère - and Vaud - Pays d'Enhaut), many fabulous places and villages (Obersimmental, Pays d'Enhaut - Saaneenland, Montreux region). Ecstatic!

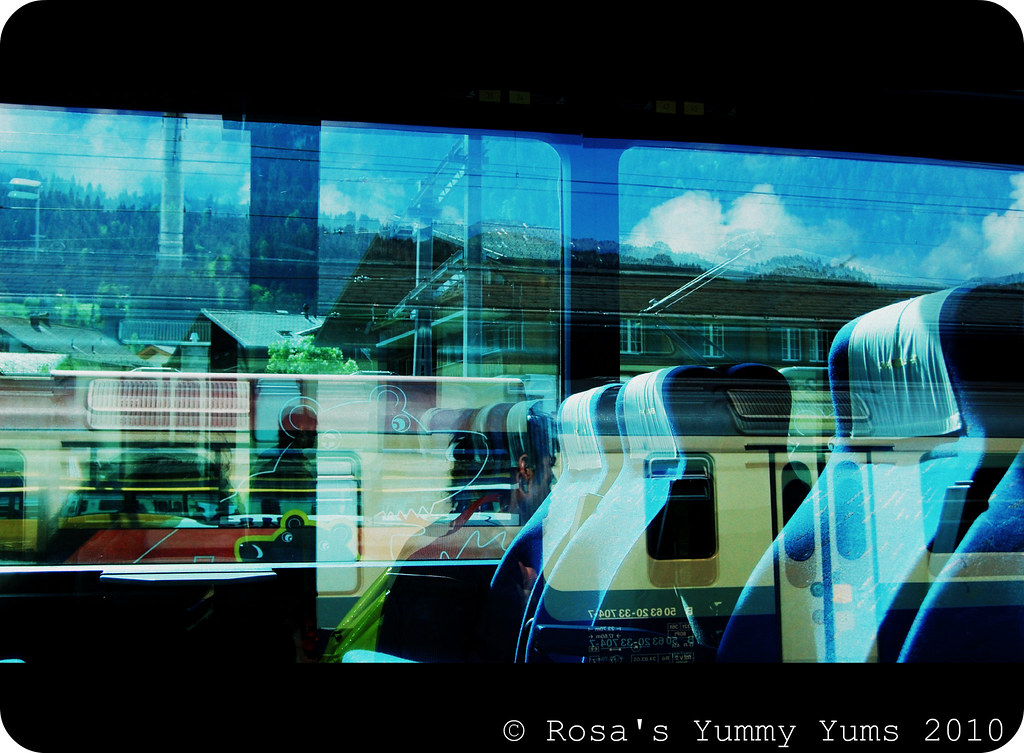
As the landscapes are stunning and the views out of the window are breathtaking, I took a few shots while sitting in the train. Thankfully they turned out great, so I hope you'll enjoy them.

Zweisimmen 51 bis

Zweisimmen 53 bis

Sunday, July 4, 2010

0 WEEKEND CAT BLOGGING #265

This week, Jules and Vincent at "Judi’s Mind Over Matter" (USA) are happy to announce that they are hosting Weekend Cat Blogging #265...

To submit your kitty picture(s), you can either leave a message in their blog's comment section (with your permalinks) or contact them via e-mail without forgetting to give all the needed information.

Muschki sun 1.1 bis

Friday, July 2, 2010

0 FALAFELS


Middle Eastern cuisine is my drug. There is something about it that appeals to me and makes me addicted. I guess it has a lot to do with it being healthy, humble, yet extremely refined, fragrantly spicy, exhaliratingly exotic and rich in traditions as well as history, thus reminding me of great as well as intriguing ancient civilizations (Mesopotamia, Ancient Egypt, Ancient Greece, Persia, etc...). It carries a kind of romantic aura that plunges me directly into mythic worlds...

But where does this magnetic attraction come from? In another life I was maybe a Summerian lady, a Babylonian warrior, a Greek amazon or a cook in the Ottoman palace's kitchens, though I also believe I could have been a Sioux or a Viking princess before I got reborn as Rosa, the "mad" foodblogger that you all know. Who knows? I can only say that an unknown bond keeps me attached to the delightful savors of that area of the globe.

I am very passionate about Greek, Turkish, Moroccan and Lebanese cooking. I cannot get enough of chickpeas, Basmati rice, pine nuts, coriander, tahini, bulgur, cumin, flatbreads (Pita, Khoubz & Lavash), olive oil, sesame seeds, honey, yogurt, phyllo, feta, etc... Those are ingredients that I would never like to live without. It is impossible for me to take them out of my diet.

Well, to make this story short, the other week my friend Corinne and I were in town and we decided to eat a little something. Corinne being married to a Palestinian man, she is also very much besotted by Middle Eastern dishes, so we decided to buy a falafel sandwich from "Parfums De Beyrouth", a take away in the red light district area of Geneva called Les Pâquis. While eating that delicious snack I told Corinne how much I love "Falafels" and I started wondering why I had never made any. After leaving the place, I promised myself to make some as soon as possible. A week later, homemade "Falafels" graced my table...

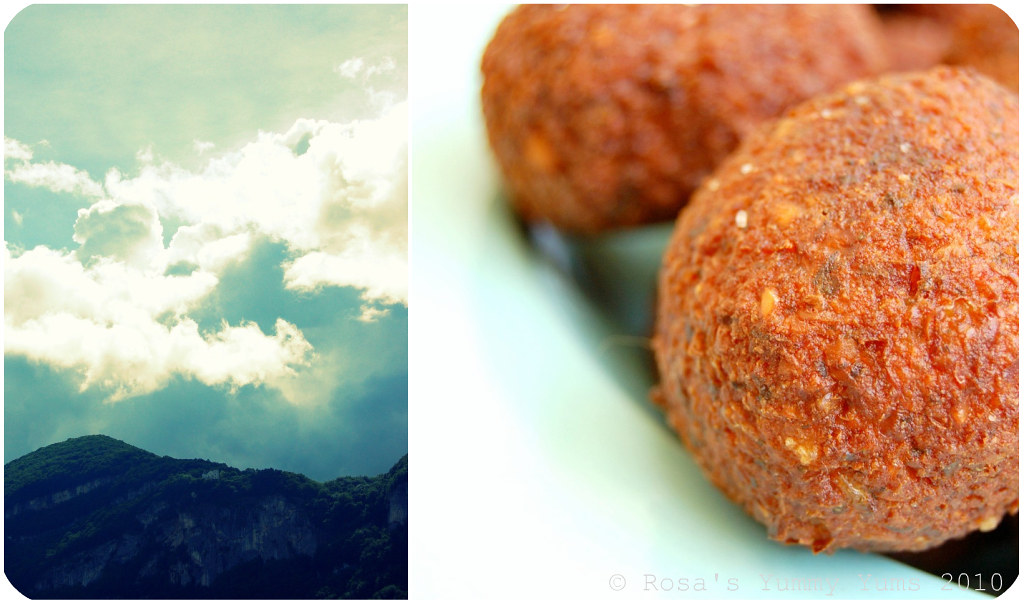
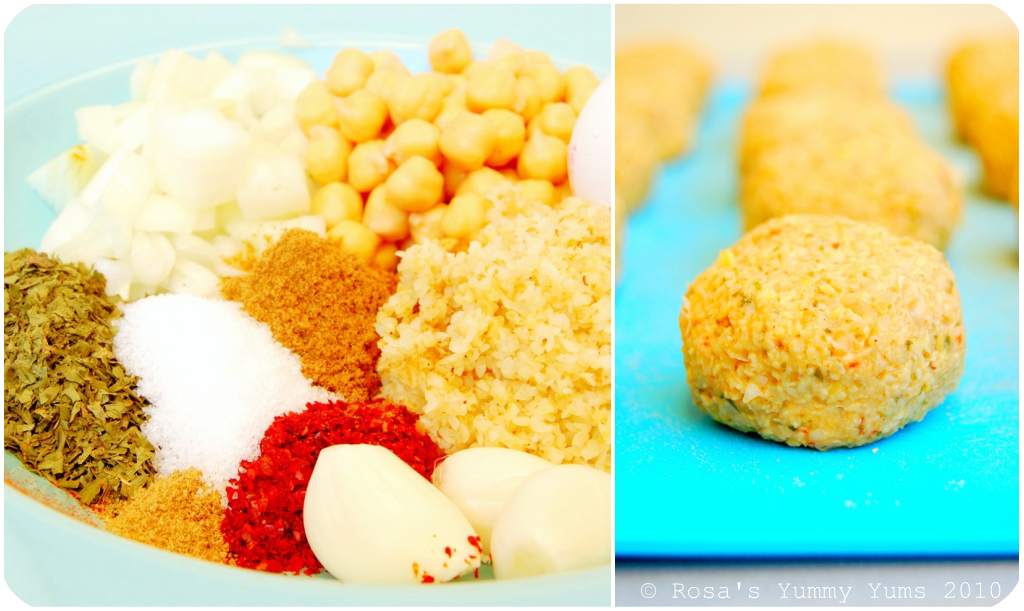
"Falafels" are little deep fried croquettes in the shape of a ball which are thought to originate from Egypt - though some people believe that they come from India - (They were eaten for Lent by the Copts. The recipe migrated further East and chickpeas replaced the fava beans.). They are a common mezze, snack and street food item all accross the Middle East. "Felafels" can be eaten topped with salad, vegetable pickles, hot sauce and a tahini-based sauce or served in a pita or wrapped in a flatbread. They are generally made with mashed chickpeas (although certain versions contain no chickpeas - Egyptian falafels are made with fava beans instead, thus their green color), bulgur wheat (not in all recipes), spices and herbs such as coriander and parsley.

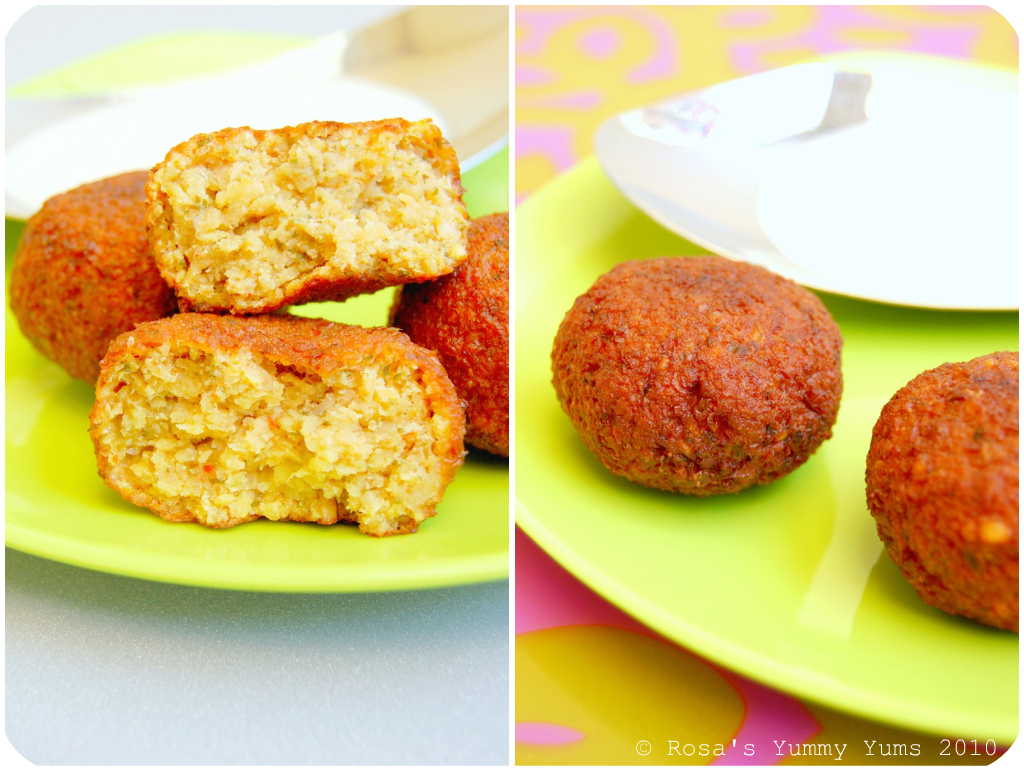
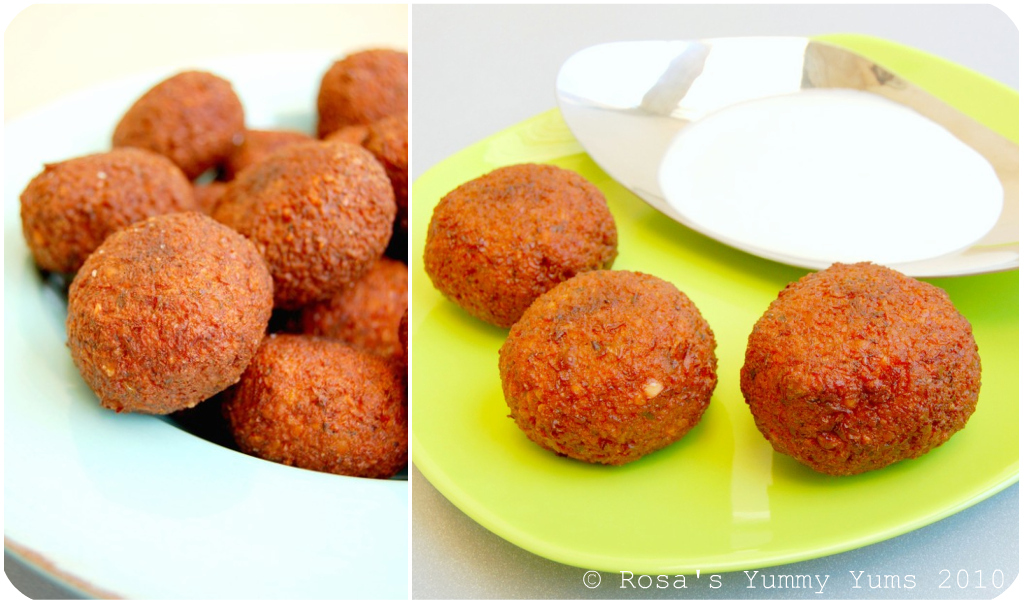
To make my "Falafels" I inspired myself from many sources around the net and from my books in order to create the recipe that follows. They turned well and were close to perfect. Of course, it is my first attempt at making them, so I'm sure I can still develop and adapt that recipe a little in the future. I'll definitely try other versions soon in order to find the most perfect flavor combination and texture.

Those "Falafels" look perfect and taste wonderful. They ar
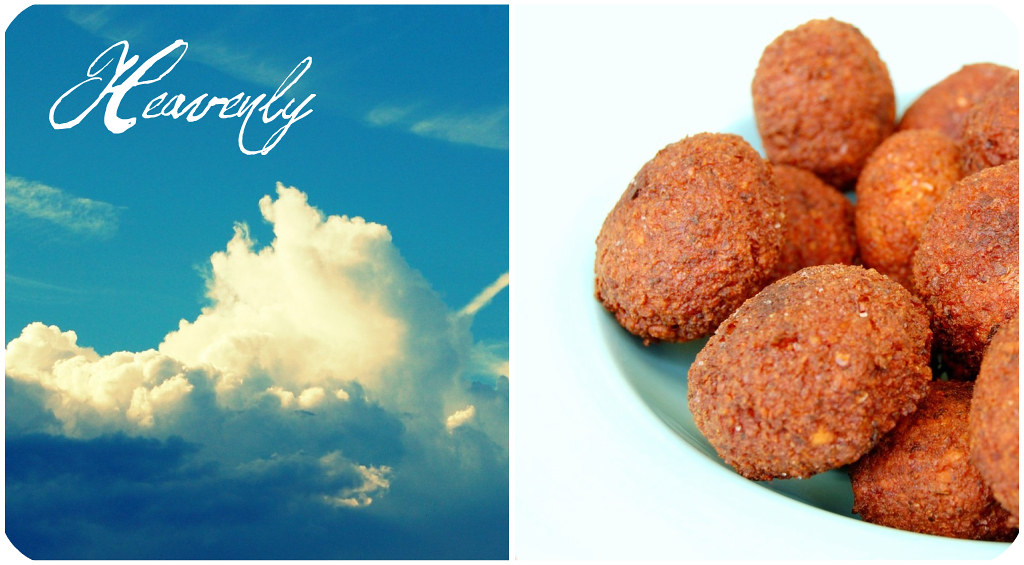
e not greasy at all, very flavorful, delicately spicy (the spices reveal themselves to you slowly), gorgeously crisp on the outside and pillow-soft on the inside. A soul-uplifting delicacy that'll make you travel without leaving the house!


~ Falafels ~
Recipe by Rosa @ Rosa's Yummy Yums 2010.

Makes about 24 falafels.

Ingredients:
1 Cup Dried chickpeas
1/2 Cup Bulgur
1 Big white onion, chopped
3 Cloves garlic
2-3 Tbs Fresh chopped parlsey
2 Tbs Fresh chopped cilantro/coriander
1 Big egg (~63g)
2 Tsp Ground cumin
1/4 Tsp Ground Coriander
1 Tsp Paprika
1 Tsp Kirmizi biber
1 1/2 Tsp Sea salt
1 Tsp Dried oregano
1/2 Tsp Baking powder (optional)
A pinch freshly ground black pepper
A few drops red Tabasco
2 Tbs Tahini
2 Tbs Bread crumbs (or more/optional)
Peanut oil, to deep fry

Method:
1. The day before, place the chickpeas in a bowl and cover them with water. Leave overnight.
2. The next day, put the bulgur in a bowl and cover with water. Let the bulgur stand in the water for about 15 minutes, then drain very well.
3. Place the chickpeas, onion, cloves, parsley, cilantro, egg, baking powder, tahini and spices in a blender and process until still a little grainy.
4. Transfer the mixture into a bowl and add the bulgur as well as breadcrumbs (you should be able to create balls/if not add breadcrumbs).
5. Cover the bowl and let rest for about 2 hours in the fridge.
6. Fill a pan with 6cm (3 inches) oil and heat. The oil should be about 190°C (375° F).
7. Deep-fry the falafels (5 at a time) until golden brown.
8. Remove from the pan and drain on kitchen paper and serve hot.

Remarks:
The mixture should be blended, but not pureed.
Add a little more breadcrumbs if the mixture is too wet and you cannot make balls with it.

Serving suggestions:
Serve the falafels with "Tarator Sauce" and a good salad or make sandwiches with halved pita breads stuffed with tomato slices, salad (chopped iceberg), onions slices and "Tarator Sauce".

~~~~~~~~~~~~~~~~~~~~~~

~ Falafels ~
Recette par Rosa @ Rosa's Yummy Yums 2010.

Pour environ 24 falafels.

Ingrédients:
1 Tasse (250g) de Pois chiches secs
1/2 Tasse de Bulghur
1 Gros onion blanc, haché
3 Gousses d'ail
2-3 CS de Persil haché
2 CS de Coriandre haché
1 Gros oeuf (~63g)
2 CC de Cumin en poudre
1/4 de CC de Coriandre en poudre
1 CC de Paprika
1 CC de Kirmizi biber
1 1/2 CC de Tsp Sel de mer
1 CC d'Origan séché
1/2 CC de Poudre à lever (en option)
Une pincée de povre noir fraîchement moulu
Quelques gouttes de Tabasco rouge
2 CS de Tahini
2 CS de Panure (et plus si la préparation est trop mouillée/en option)
Huile d'arachide, pour frire


Méthode:
1. Faire tremper les pois chiches toute une nuit afin qu'ils se réhydratent.
2. Le lendemain, faire tremper le bulghur dans de l'eau afin de le réhydrater. Laisser le bulghur dans l'eau pendant au moins 15 minutes. Bien égoutter.
3. Mettre les pois chiches, l'onion, l'ail, le persil, la coriandre, l'oeuf, la poudre à lever, le tahini et les épices dans un mixer et réduire en une masse assez homogène, mais granuleuse.
4. Mettre cette mixture dans un bol et ajouter le bulghur et la panure (vous devriez pouvoir former des boules avec la préparation/si non, ajouter de la panure).
5. Couvrir le bol et laisser reposer au frigo pendant 2 heures.
6. Remplir une casserole avec 6cm d'huile et chauffer. L'huile doit atteindre les 190°C.
7. Frire 5 falafels à la fois (pendant 5 minutes), jusqu
'à ce qu'ils soient bien dorés.
8. Retirer les falafels de la casserole et faire égoutter sur du papier de cuisine. Servir chaud.

Remarques:
La préparation ne devrait pas être réduite en purée.
Ajouter un peu de panure si la mixture est trop mouillée et que vous n'arriver pas à former des petites boules.

Idées de présentation:
Servir les falafels avec de la "Sauce Tarator" et avec de la salade, des légumes au vinaigre ou bien en tant que sandwich dans du pain pita et avec des tomates en tranches, de la salade (iceberg), des rondelles d'oignons et de la "Sauce Tarator".

Wednesday, June 30, 2010

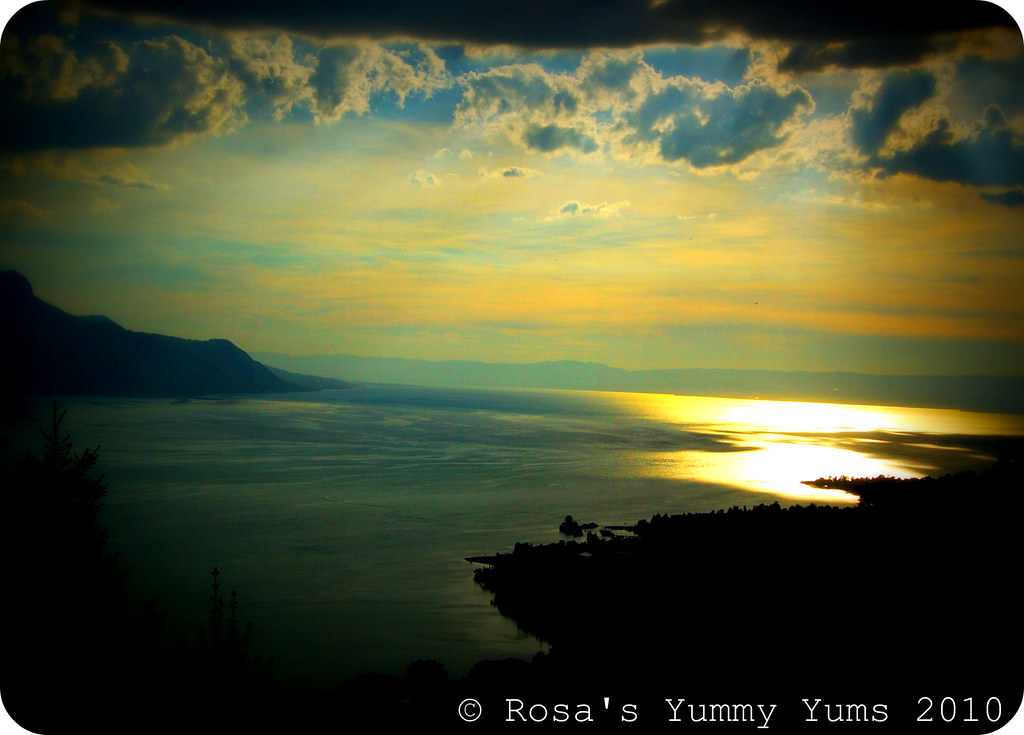
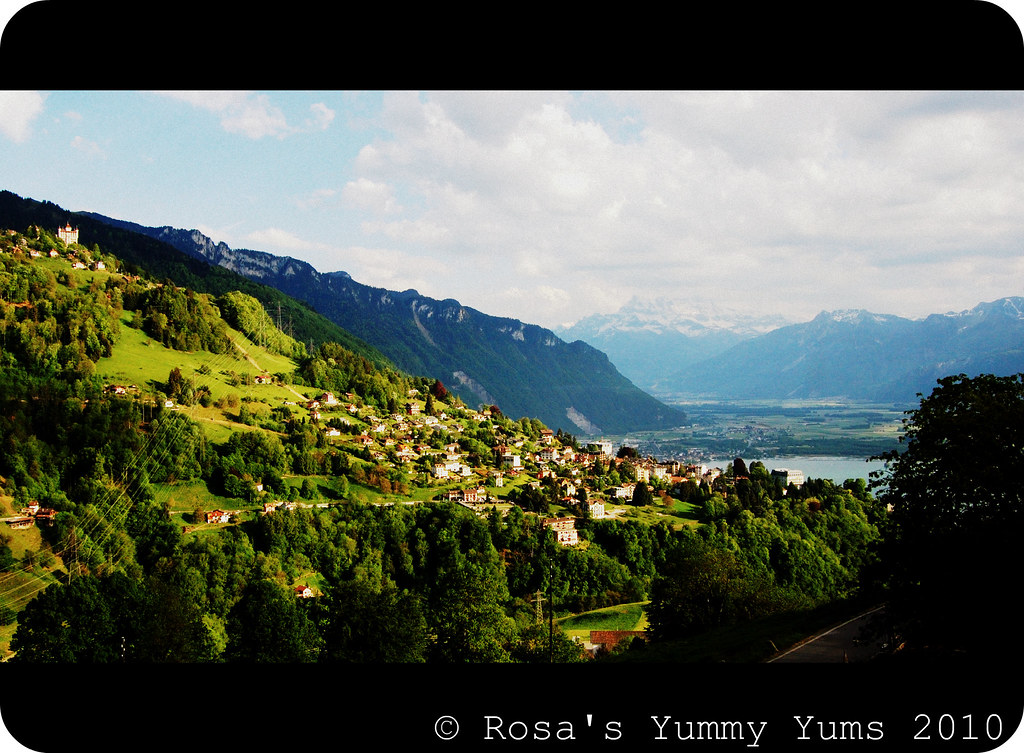
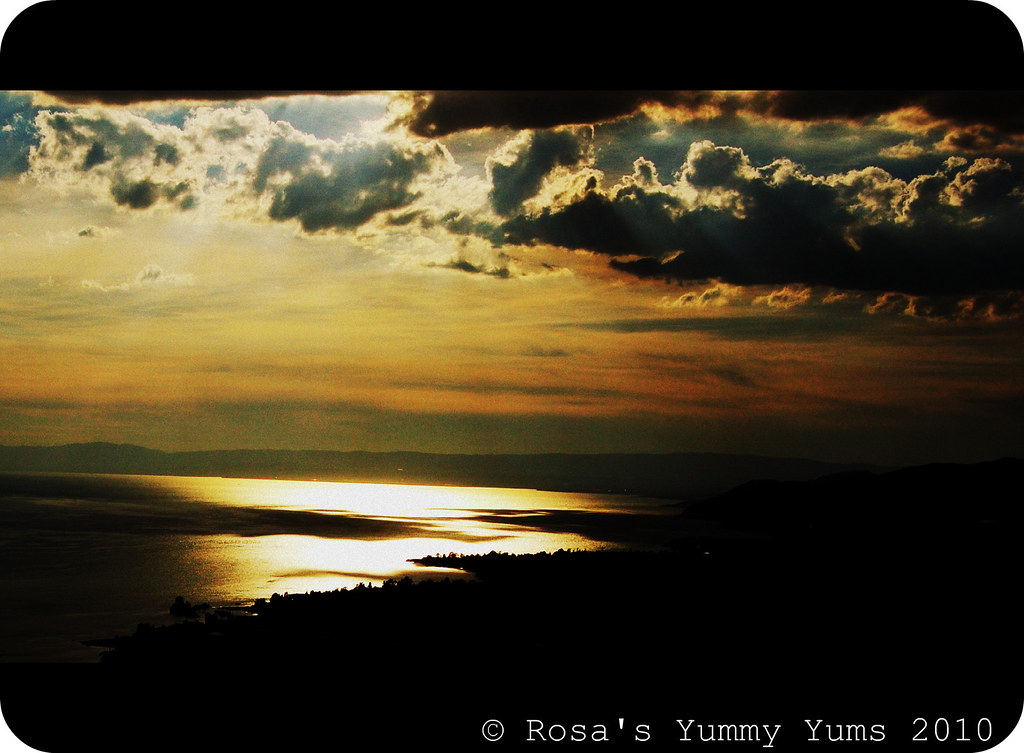
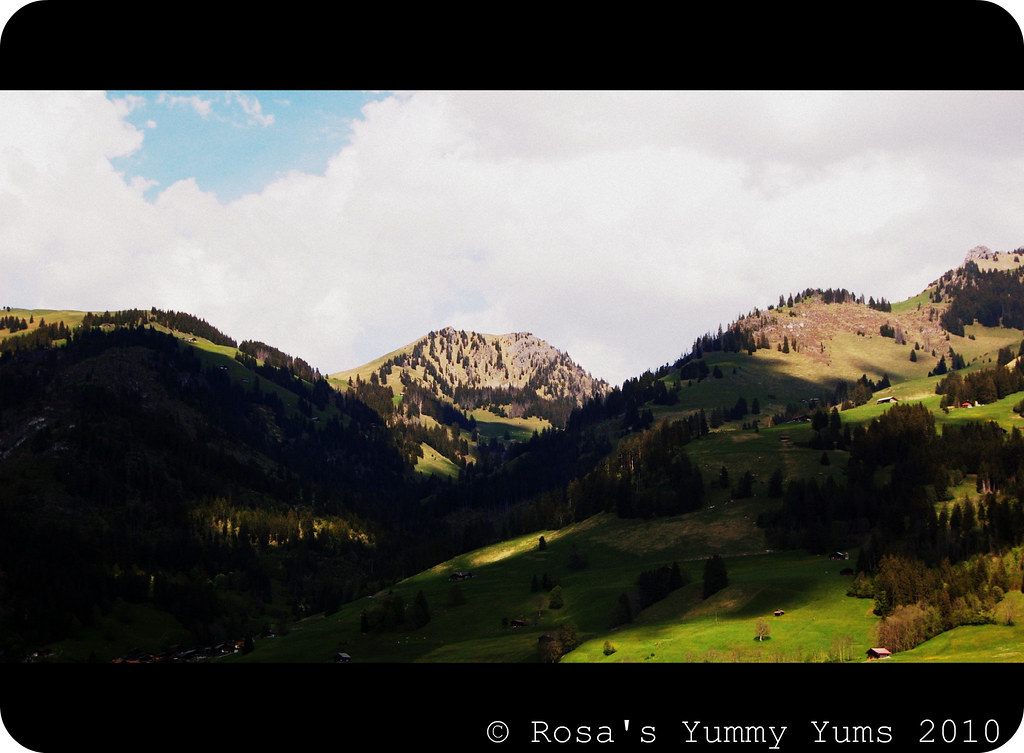
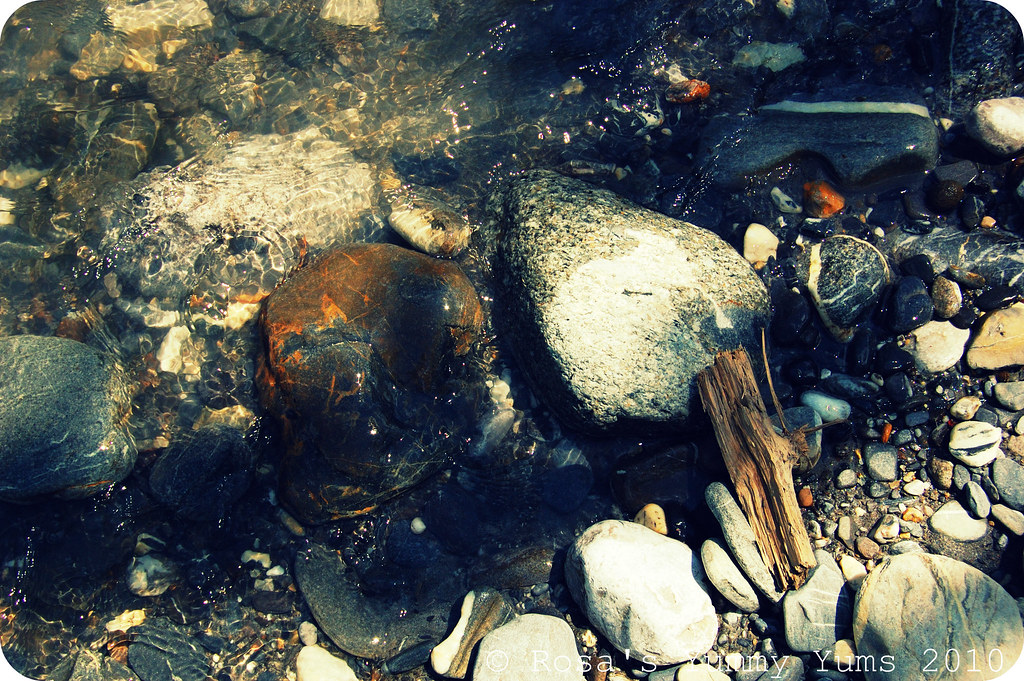
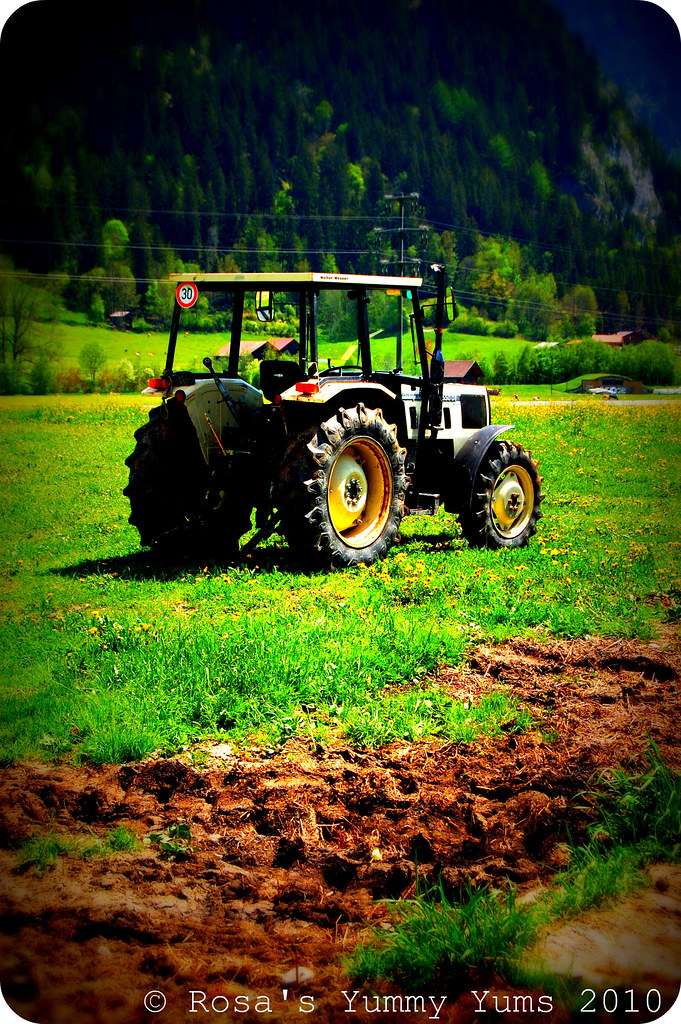
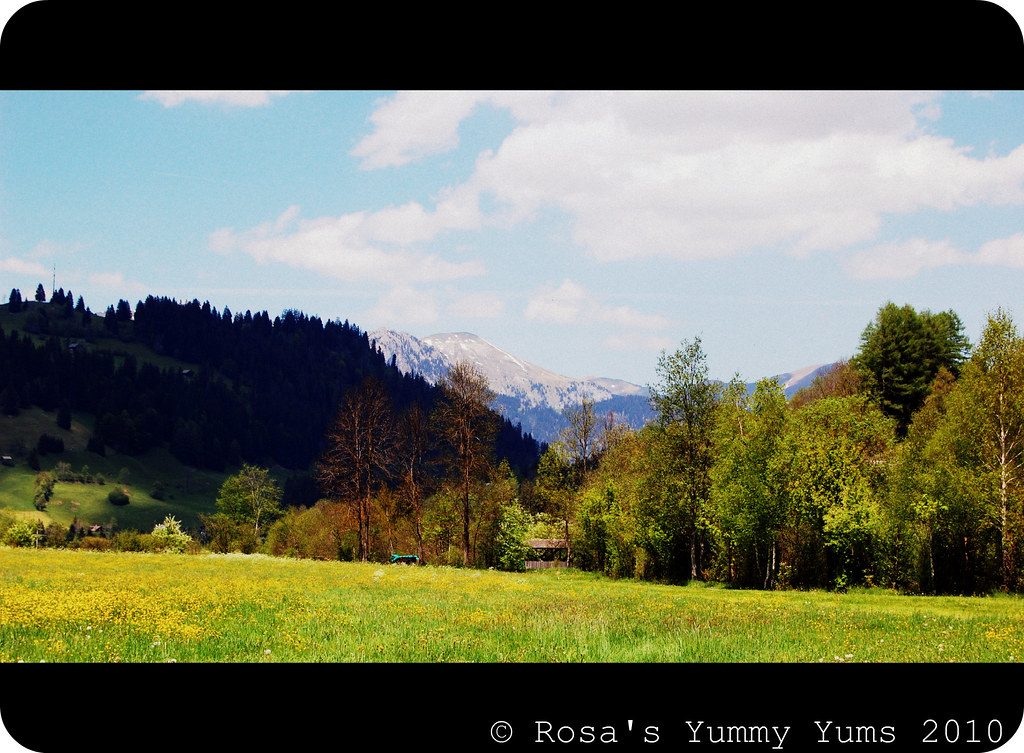
0 ZWEISIMMEN - BEAUTY IN NATURE

My trip to Zweisimmen continued...


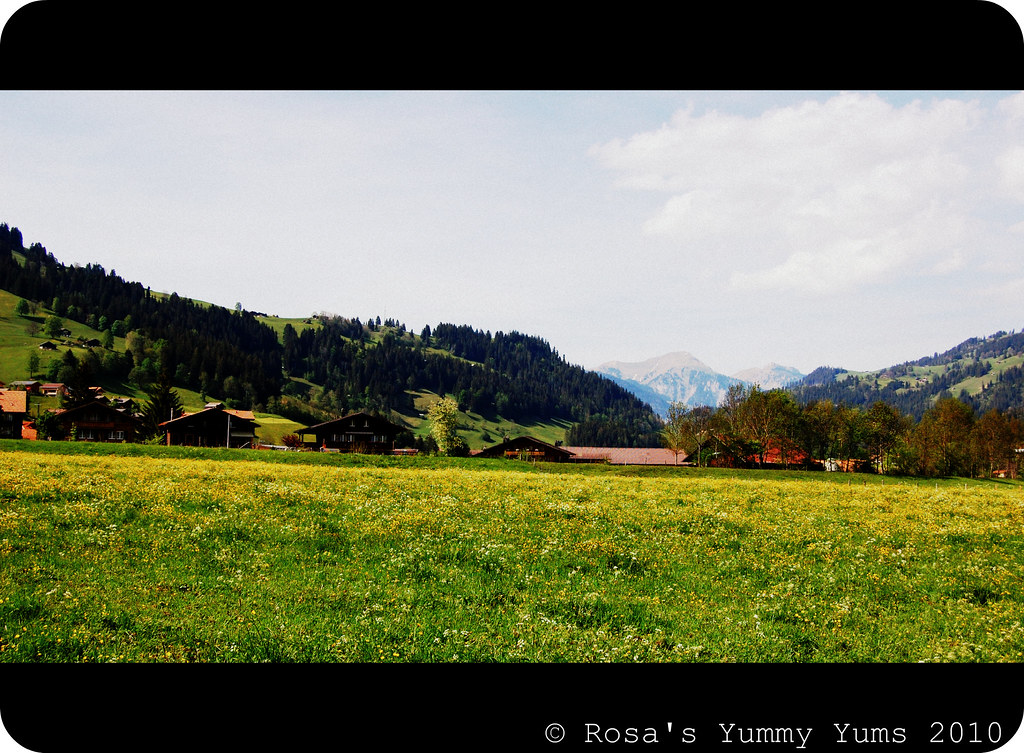
Well, as I had taken tons of pictures in Zweisimmen (post 1, post 2, post 3 & post 4) I still have lots of photographs to process and share. When I go somewhere it is impossible for me not to use my camera every 2 minutes!
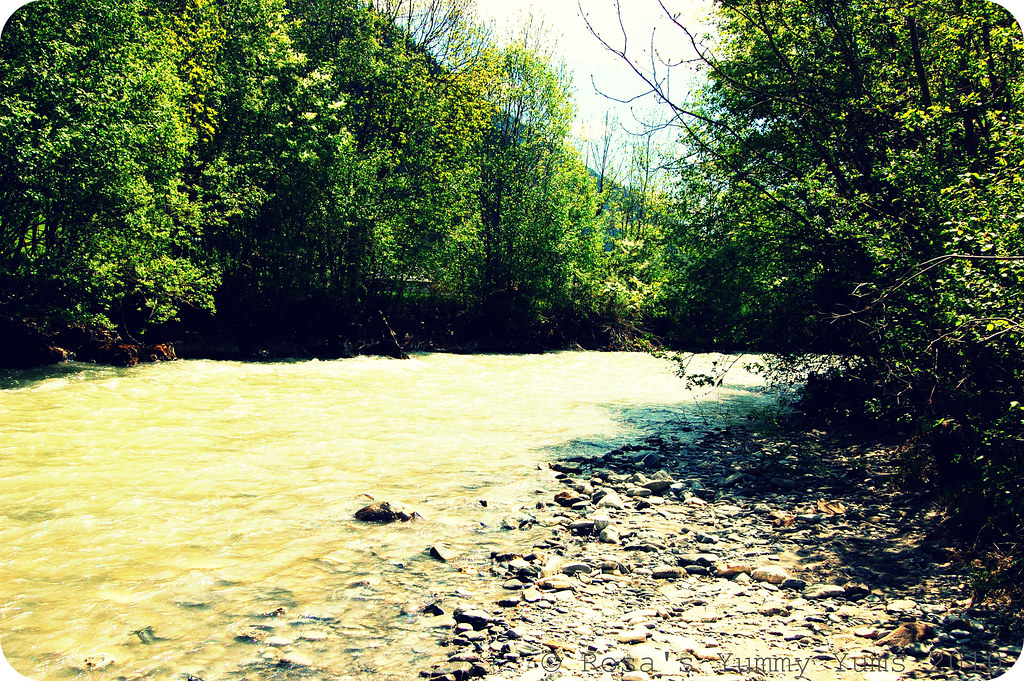


Going on a trip with me can be very tiring as I will stop and look through the lense of my camera most of the time. I am conscient that it can be a very annoying habit, but I really can't help it. I cannot miss an opportunity to take a great shot or capture an interesting atmosphere. It has nearly become my second nature...


During my end of year high-school trip to Greece I remember being and mocked by the other kids because I could not stay neutral or be blasé in front of the scenes I saw through the window. With much passion, I marveled at every landscape that unfolded in front of me. I didn't sleep like everybody else as I wanted to see everything and not miss anything. That is how I am and who I am. I can't help it!


I am always in search of beauty and need to feed on it. That is the reason why I see things in such a poetic way, feel the energies that a place carries and the aura that a site emits. I have a natural sensitivity for that kind of stuff and it shows (I hope) in my photographic creations.


To be continued next week....
Saturday, June 26, 2010

0 CHOCOLATE PAVLOVAS - DARING BAKERS

The summer solstice has just passed and July is close. I can't believe that half of the year has already flyed by... And once again, the end of the month is the time when we are asked to share our Daring Bakers' creations with the rest of the world. It is just insane to see how time goes by and how many challenges I have already completed (33) since I started in October 2007.

The June 2010 Daring Bakers’ challenge was ho
sted by Dawn of "Doable and Delicious" who challenged the Daring Bakers’ to make "Chocolate Pavlovas" and Chocolate Mascarpone Mousse. The challenge recipe is based on a recipe from the book "Chocolate Epiphany" by Francois Payard.

Although I am generally prone to be a little stressed and psyched out by the things we have to bake, this challenge didn't make me panicky. On the contrary, I felt comfortable with it and totally confident when it came to executing the recipe given. The reason for my unusual confidence is that I have made meringue, chocolate mousse, crème anglaise and mascarpone more than once and I felt totally at ease with the process of making all the components of the "Chocolate Pavlovas". No big deal!

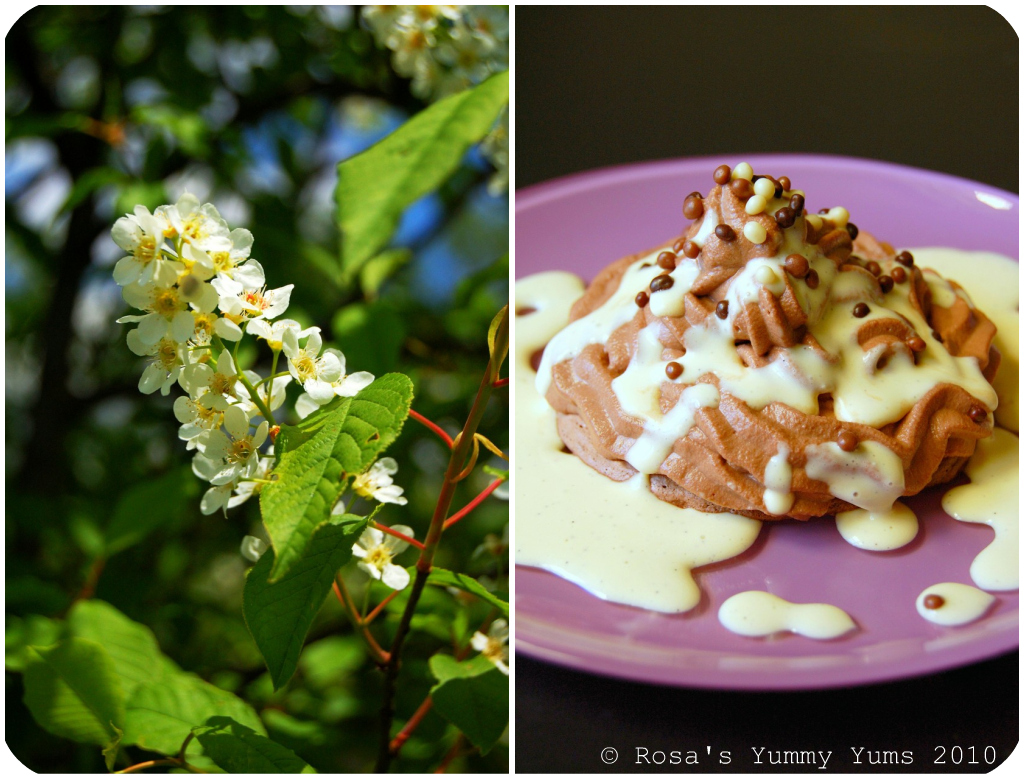
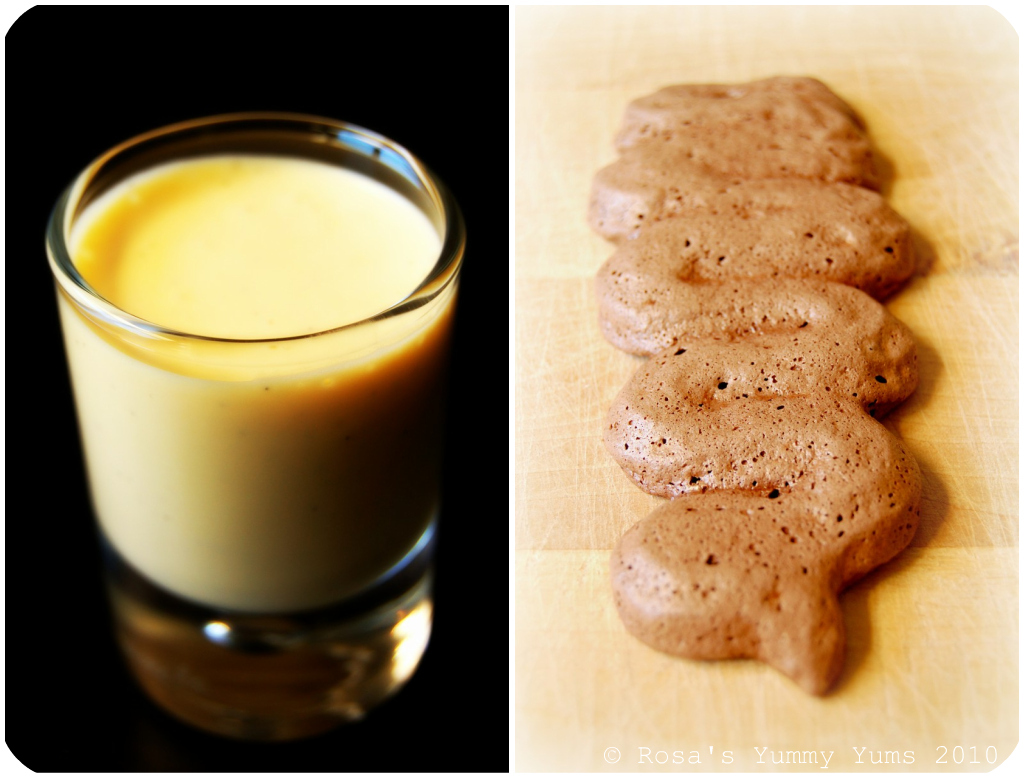
As a matter of fact, my "Chocolate Pavlovas" were made in a very relaxed atmosphere. The meringue shells were baked in whiz a few days before I prepared the rest of the elements composing this dessert. Then, on Friday, while listening to my favorite music I very cooly got the challenge finished...

I didn't change much to the original recipe. Instead of flavoring the chocolate mousse with lemon zest and nutmeg, I decided to add some ground tonka (bean) instead and as I had no Sambucca for the crème anglaise, I replaced it with good ol' Whisky.

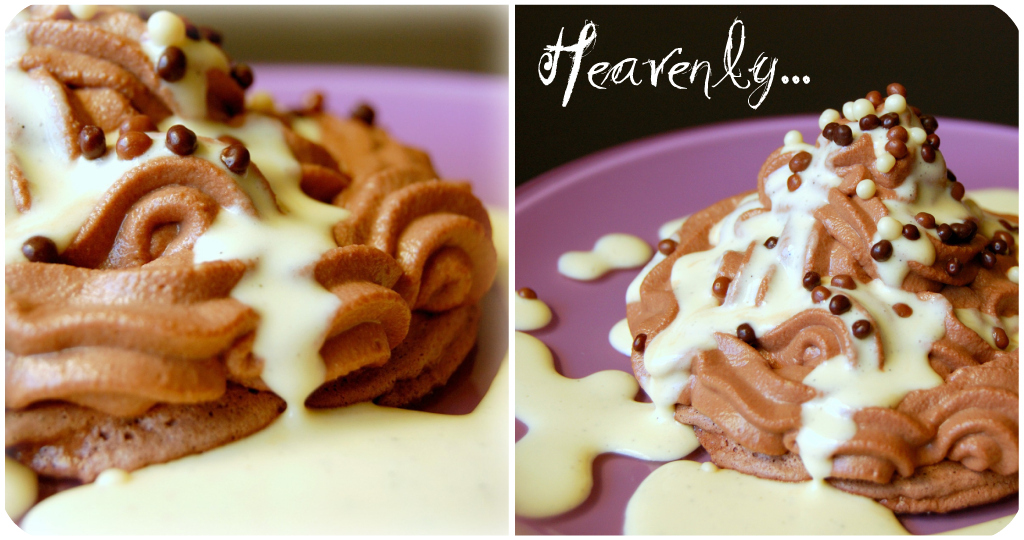
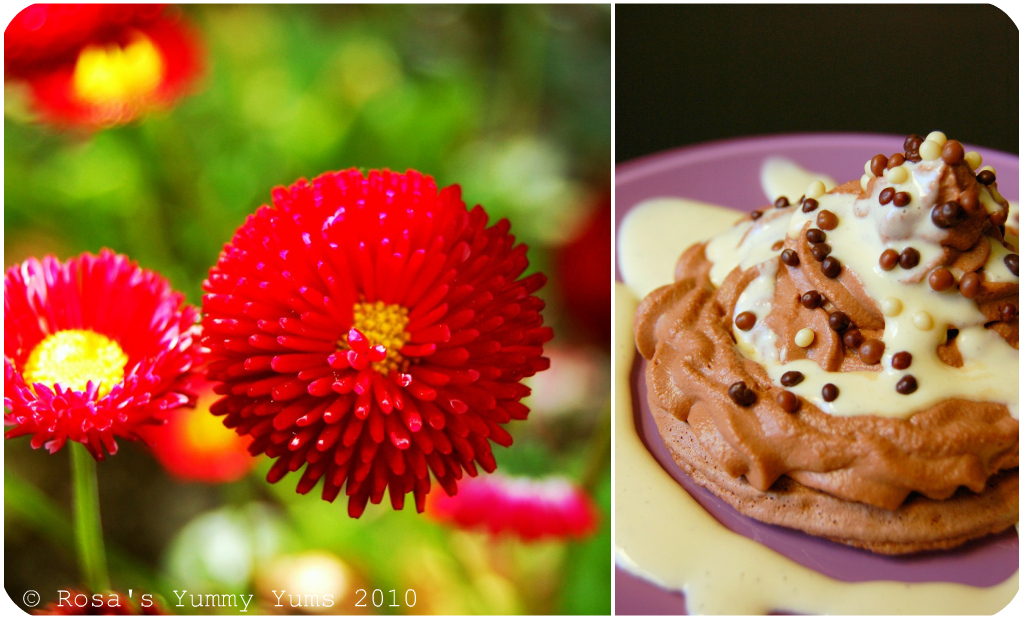
Those "Chocolate Pavlovas" looked very cute and tasted just
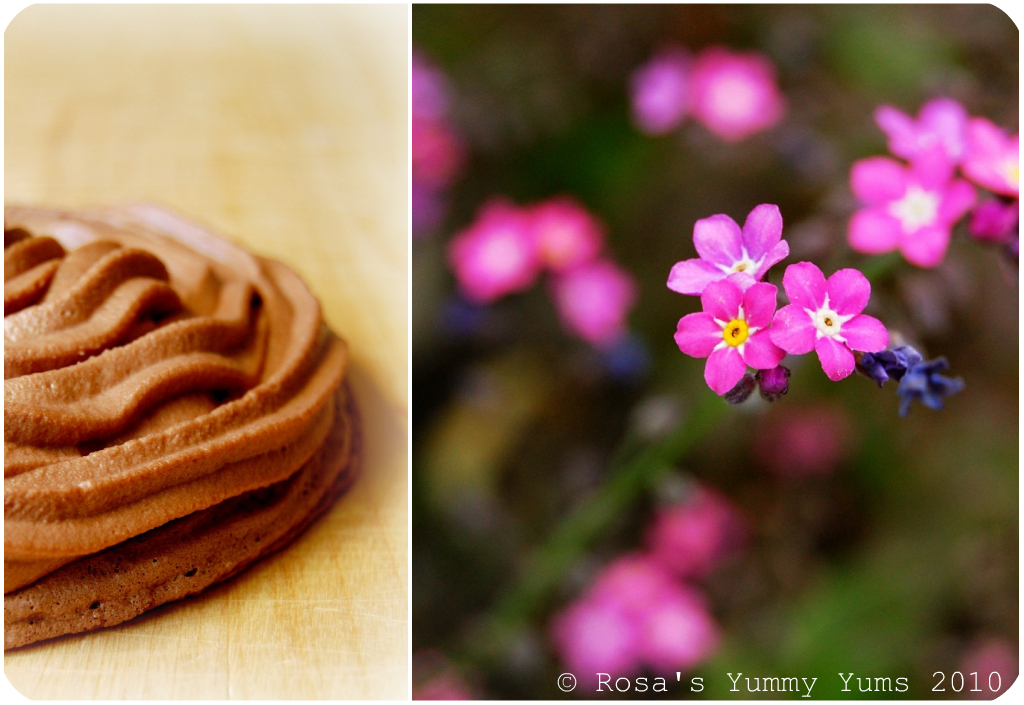
exquisite. Contrarily to what I believed at first they were really not too sweet and absolutely not cloying. In fact, this dessert is really refined. The meringue shells have a exhaliratingly deep taste of cocoa, the chocolate mousse is not sugary at all, light, smooth, delicate lusciously chocolaty, and the crème anglaise gives just the right flavor contrast with it's voluptuous aromas of vanilla and whisky. Just splendid.

I wish to thanks Dawn for having chosen that divine. This recipe is definitely a keeper!

~ Chocolate Pavlovas ~
Recipe from Francois Payard's "Chocolate Epiphany".

Preparation time:

The recipe can be made in one day althoug
h there are several steps involved.
While the pavlovas are baking, the crème anglaise should be mad
e which will take about 15 minutes.
While it is cooling, the chocolate mascarpone mousse can be made which will take about 15 minutes.
There will be a bit of a wait time for the mascarpone cream because of
the cooling time for the Crème Anglaise.
If you make the Crème Anglaise the day before, the dessert should take about 2 hours including cooking time for the pavlovas.


Equipment required:

• Baking sheet(s) with parchment or silpat

• Several bowls
• Piping bag with pastry tip

• Hand or stand mixer

~~~~~~~~~~~~~~~~~~~~~~~~


CHOCOLATE MERINGUE

Ingredients:
3 Large egg whites
1/2 Cup plus 1 Tbs (110g) White granulated sugar

1/4 Cup (30g) Confectioner’s (icing) sugar
1/3 Cup (30g) Cocoa powder

Method:
1. Place a rack in the center of the oven and preheat to 200º F (95º C) degrees.
2. Line two baking sheets with silpat or parchment and set aside.

3. Put the egg whites in a bowl and whip until soft peaks form.
4. Increase speed to high and gradually add granulated sugar about 1 tbsp at a
time until stiff peaks form. (The whites should be firm but moist.)
5. Sift the confectioner’s sugar and cocoa powder over the egg whites and fold the dry ingredients into the white. (This looks like it will not happen. Fold gently and it will eventually come together.)

6. Fill a pastry bag with the meringue. Pipe the meringue into whatever shapes you desire. Alternatively, you could just free form your shapes and level them a bit with the back of a spoon. (Class made rounds, hearts, diamonds and an attempt at a clover was made!)
7. Bake for 2-3 hours until the meringues become dry and crisp.
8. Cool and store in an airtight container for up to 3 days.

~~~~~~~~~~~~~~~~~~~~~~


CHOCOLATE MASCARPONE MOUSSE

Ingredients
:
1 1/2 Cups (355ml) Heavy cream (cream with a milk fat content of between 36 and 40 %)
9 Ounces (255g) 72% Chocolate, chopped
1 2/3 Cups (390ml) Mascarpone (homemade version here)
1/3 Tsp Ground tonka bean

Directions:
1. Put 1/2 cup (120 mls) of the heavy cream an
d the ground tonka bean in a saucepan over medium high heat.
2. Once warm, add the chocolate and whisk until melted and smooth.
3. Transfer the mixture to a bowl and let sit at room temperature until cool.
4. Place the mascarpone and the remaining cup of cream in a bowl.
5. Whip on low for a minute until the mascarpone is loose, then
whip on medium speed until it holds soft peaks. (DO NOT OVERBEAT AS THE MASCARPONE WILL BREAK.)
6. Mix about 1/4 of the mascarpone mixture into the chocolate to lighten.
7. Fold in the remaining mascarpone until well incorporated.
8. Fill a pastry bag with the mousse. ( Again,
you could just free form mousse on top of the pavlova.)

~~~~~~~~~~~~~~~~~~~~~~~~


MASCARPONE CREAM

Ingredients:
1 Recipe Crème anglaise
(see recipe below)
1/2 Cup (120ml) Mascarpone (homemade version here)
2 Tbs (30ml) Whisky
1/2 Cup (120ml) Heavy cream

Method:
1. Prepare the crème anglaise.
2. Slowly whisk in the mascarpone and the Whisky a
nd let the mixture cool.
3. Put the cream in a bowl and beat with electric mixer until very soft peaks are
formed.
4. Fold the cream into the mascarpone mixture.


~~~~~~~~~~~~~~~~~~~~~~


CRÈME ANGLAISE

Ingredients:
1 Cup (235ml) Whole milk
1 Cup (235ml) Heavy cream
1 Vanilla bean, split or 1 Tsp Pure vanilla extract

6 Large egg yolks
6 Tbs (75 g) Sugar

Method:
1. In a bowl, whisk together the egg yolks and sugar until the mix
ture turns pale yellow.
2. Combine the milk, cream and vanilla in a saucepan over medium high hea
t, bringing the mixture to a boil. Take off the heat.
3. Pour about 1/2 cup of the hot liquid into the yolk mixture, whisking constantly to keep from making scrambled eggs.

4. Pour the yolk mixture into the pan with the remaining cream mixture and put the heat back on medium.
5. Stir constantly with a wooden spoon until the mixture thickens enough to lightly coat the back of a wooden spoon. (DO NOT OVERCOOK.)
6. Remove the mixture from the heat and strain it through a fine mesh sieve into a bowl.
7. Cover and refrigerate until the mixture is thor
oughly chilled, about 2 hours or overnight.

~~~~~~~~~~~~~~~~~~~~~~


ASSEMBLY

Pipe the mousse onto the pavlovas and drizzle with the mascarpone cream over the top.
Dust with confectioner’s sugar and fresh
fruit if desired.

~~~~~~~~~~~~~~~~~~~~~~

Etant donné la longueur du texte original, je n'ai malheureusement pas pu faire une traduction française de ce billet et je m'en excuse auprès de tous mes amis lecteurs et blogueurs francophones!

C'est pourquoi je vous suggère de vous rendre sur le blog mentionné ci-dessous. Vous y trouverez cette recette en version française.

Chez Isa de "Les Gourmandises d'Isa" (Canada)
Chez Vibi de "La Casserole Carrée" (Canada)


breakfasts time Copyright © 2011 - |- Template created by O Pregador - |- Powered by Blogger Templates