
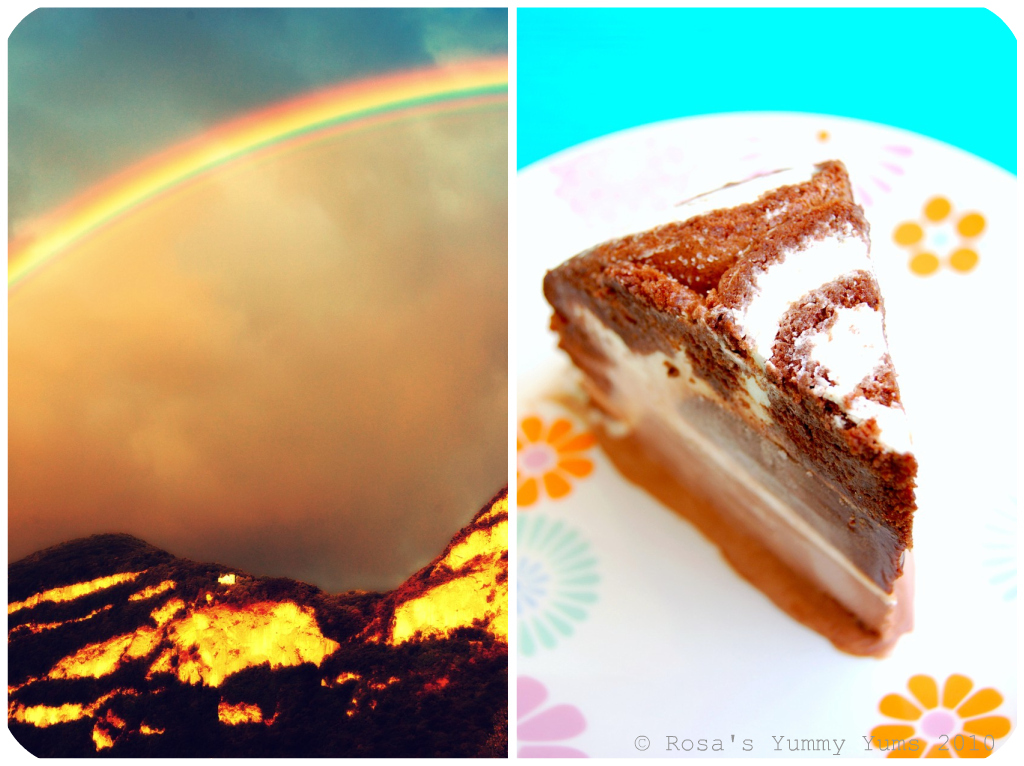
The July 2010 Daring Bakers’ challenge was hosted by Sunita of "Sunita’s World – Life And Food" who challenged everyone to make an ice-cream filled Swiss roll that’s then used to make a "Bombe" with hot fudge. Her recipe is based on a n ice cream cake recipe from Taste of Home.
Making a "Bombe Glacée" (an ice cream dessert frozen in a spherical mould that appears on restaurant menus since 1882) was not much of a challenge in itself. The process, although long and fastidious was not that complicated. Swiss rolls (or Jelly Rolls) are easier to bake than they seem (it was either not the first time the I made this speciality) and the ice cream as well as hot fudge recipes used are very simple (no custard base for the ice creams) to prepare. Although my baking skills were not put to the test, my patience was grandly put to trial.
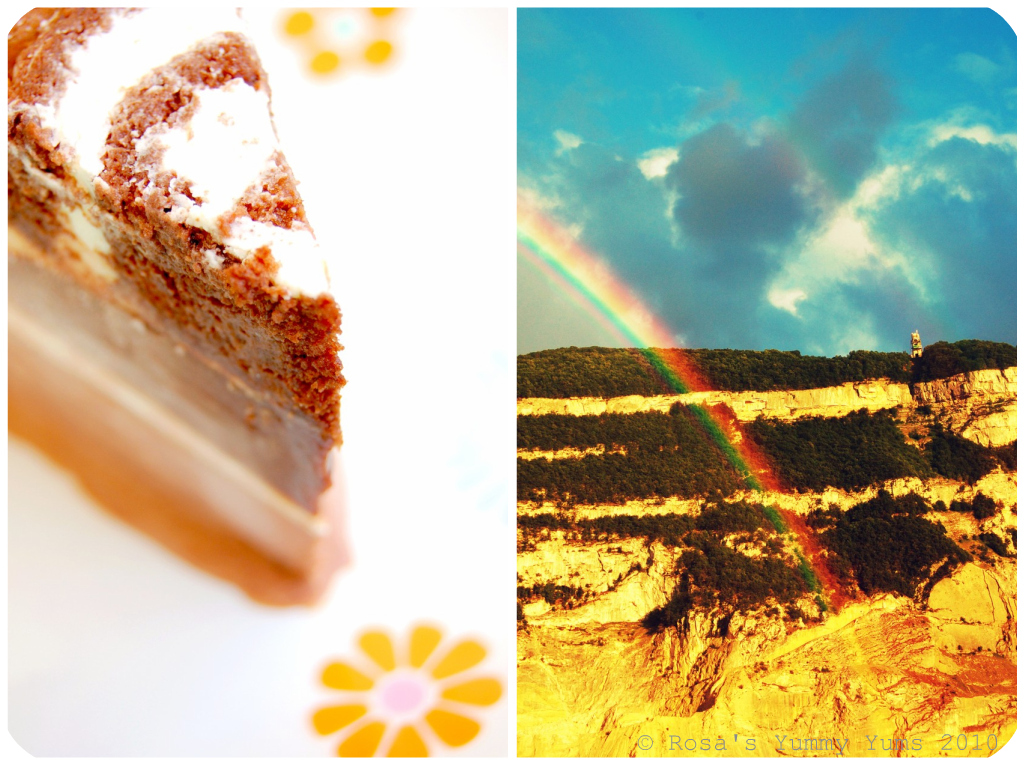
Since we were under a heatwave it was extremely annoying to have to work with ice cream as it took hours to freeze and melted every time I got it out of the freezer. And to crown the heat problems, making space in the freezer was a real brainteaser (it is so full that I cannot even add a nut!). Then, as if it was not enough, the "Swiss Roll Ice Cream Cake" was a heck of a pain in the backside to photograph due to it's lack of photogeny. I somehow find there was a little too much whipped cream in each roll so when I placed the cut slices in the bowl and had to "squish" them slightly in order to make them fit in their mould, the filling spilled out and made a mess. Hence the not so neat exterior of my "Bombe" (a real nightmare for a perfectionist like me).
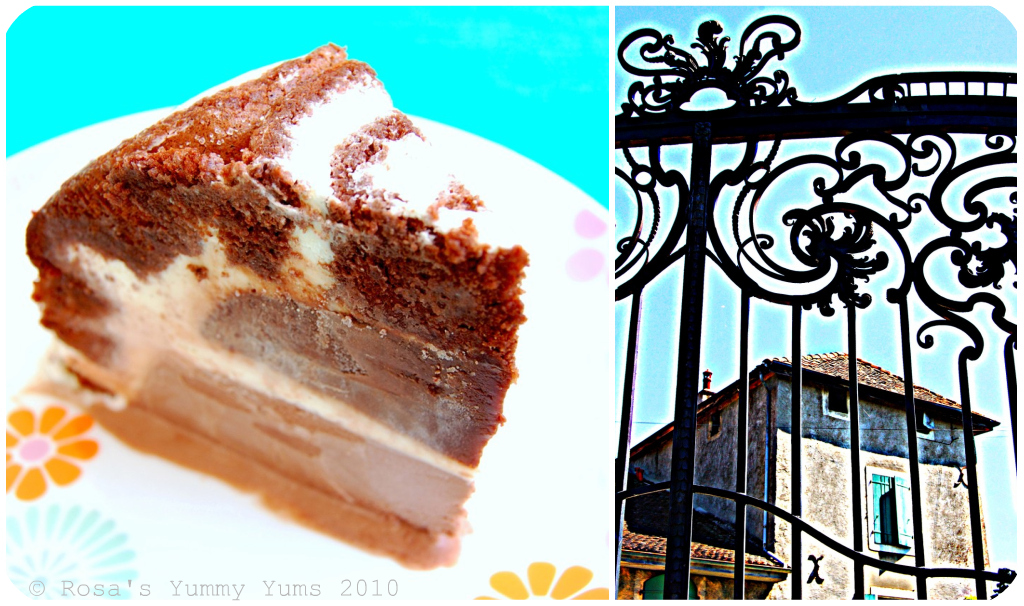
Anyway, the whole process went well no matter if I had to fight against the high temperatures that Mother Nature delivered or my overfull freezer. My "Swiss Roll ice Cream Cake" turned out to look not all that bad and was very enjoyable. I really loved that delightful chocolaty flavor it had, but was not so keen on the fudge filling which somehow had a kind of cardboardy flavor (I only used good Swiss Cailler cocoa, so it could not have been at the origin of it's dull taste). I used a little Kirsch to perfume the vanilla ice cream, thus adding some complexity and a lovely aroma to the dessert. This "Swiss Roll Ice Cream Cake" was so successful that it took us (my boyfriend and I) no more than three eating sessions to finish it completely!
I wish to thanks Sunita for having chosen that wonderful dessert. This recipe is so good that I'll have to make it again some day!
Inspired by the recipe of the same name from the Taste of Home website.
Preparation time:
. For the 2 Swiss rolls - 30 mins each + cooling time (at least 30 minutes) before filling and rolling.
. The filling can be made while the cakes cool.
. For the ice creams - 5+10 minutes + freezing time
. For the fudge topping - 5 minutes + cooling time
. Assembly - At least an hour of freezing time between each layer (I took much more)
Equipment required:
A large mixing bowl
Spatula/mixing spoon
Sieve
A small saucepan
Containers for ice creams
Cling film/plastic wrap
Greaseproof baking paper
Food processor/grinder
Electric/hand held beaters
Whisk 2 Baking pans, 11 inches by 9 inches each
Kitchen towels
Cooling rack
A pudding bowl/any other bowl, pan in which you are going to set the dessert. I used a 2 litre capacity, 9 inches in diameter and 4 inches deep.
Freezer
Oven
Serving plate
Knife
~~~~~~~~~~~~~~~~~~~~~~

Preparation time - 10 minutes
Baking time- 10-12 minutes
Rolling and cooling time- at least 30 minutes
Filling-5-8 minutes
Filling and rolling- 5-10 minutes
Ingredients for the "Cake":
6 Medium sized Eggs
1 Cup (225g/8 oz) Caster sugar + extra for rolling
6 Tbs (45g/a pinch over 1.5 oz) All purpose (plain) flour
5 Tbs (40g/a pinch under 1.5 oz) Natural unsweetened cocoa powder, sifted together with the flour
2 Tbs (30ml/1 fl oz) Boiling water
A little oil for brushing the pans
Ingredients for the "Filling":
2 Cups (500ml/16 fl oz) Whipping cream (35% fat)
1 Vanilla pod, cut into small pieces of about 1/2 cm (or 1 Tsp pure vanilla extract)
5 Tbs (70g/2.5 oz) Caster sugar
Method For The "Cake":
1. Preheat the oven at 200° C (400° F) approximately. Brush the baking pans (28 x 23 cm/11 inches by 9 inches) with a little oil and line with greaseproof baking paper (if you have just one pan, bake one cake and then let the pan cool completely before using it for the next cake).
2. In a large mixing bowl, add the eggs and sugar and beat till very thick (when the beaters are lifted, it should leave a trail on the surface for at least 10 seconds). Add the flour mixture, in three batches and fold in gently with a spatula. Fold in the water.
3. Divide the mixture among the two baking pans and spread it out evenly, into the corners of the pans.
4. Place a pan in the centre of the preheated oven and bake for about 10-12 minutes or till the centre is springy to the touch.
5. Spread a kitchen towel on the counter and sprinkle a little caster sugar over it.
6. Turn the cake on to the towel and peel away the baking paper. Trim any crisp edges. Starting from one of the shorter sides, start to make a roll with the towel going inside. Cool the wrapped roll on a rack, seam side down.
7. Repeat the same for the next cake as well.
Method for the "Filling":
1. Grind together the vanilla pieces and sugar in a food processer till nicely mixed together (if you are using vanilla extract, just grind the sugar on its own and then add the sugar and extract to the cream).
2. In a large bowl, add the cream and vanilla-sugar mixture and beat till very thick.
3. Divide the cream mixture between the completely cooled cakes.
4. Open the rolls and spread the cream mixture, making sure it does not go right to the edges (a border of 1/2 an inch should be fine).
5. In a large bowl, add the cream and vanilla-sugar mixture and beat till very thick. Roll the cakes up again, this time without the towel. Wrap in plastic wrap and chill in the fridge till needed, seam side down.
~~~~~~~~~~~~~~~~~~~~~~

Preparation time - 5 minutes+freezing (I have made the ice cream without an ice cream maker).
Ingredients:
2 and 1/2 Cups (625ml/20 fl oz) Whipping cream
1 Vanilla bean, minced or 1 Tsp (5ml/0.15 fl oz Pure vanilla extract)
1/2 Cup (115g/4oz) Granulated sugar
1 1/2 Tbs Kirsch
Method:
1. Grind together the sugar and vanilla in a food processor. In a mixing bowl, add the cream, kirsch and vanilla-sugar mixture and whisk lightly till everything is mixed together (if you are using the vanilla extract, grind the sugar on its own and then and the sugar along with the vanilla extract to the cream).
2. Pour into a freezer friendly container and freeze till firm around the edges.
3. Remove from the freezer, beat till smooth and return to the freezer (do this 3-4 times and then set completely).
~~~~~~~~~~~~~~~~~~~~~~
Preparation time - 2 minutes
Cooking time-2 minutes
Preparation time - 2 minutes
Cooking time-2 minutes
Make this just after adding the layer of vanilla ice cream to the cake.
Ingredients:
1 Cup (230g/8oz) Caster sugar
3 Tbs (24g/1.5 oz) Natural unsweetened cocoa powder
2 Tbs (15g/1 oz) Cornstarch
1 1/2 Cups (355ml/12 fl oz) water
1 Tbs (14g/1 oz) Unsalted butter
1 Tsp (5 ml/0.15 fl oz) Pure vanilla extract
Method:
1. In a small saucepan, whisk together the sugar, cocoa powder, cornflour and water.
2. Place the pan over heat, and stir constantly, till it begins to thicken and is smooth (for about 2 minutes).
3. Remove from heat and mix in the butter and vanilla. Keep aside to cool .
~~~~~~~~~~~~~~~~~~~~~~
CHOCOLATE ICE CREAMPreparation time - 5 minutes + freezing
Ingredients:
2 Cups (500ml) Whipping cream (35% fat)
1 Cup (230g/8 oz) Caster sugar
3 Tbs (24g/1.5 oz) Natural unsweetened cocoa powder
Method:
1. Grind together the sugar and the cocoa powder in a food processor.
2. In a saucepan, add all the ingredients and whisk lightly.
3. Place the pan over heat and keep stirring till it begins to bubble around the edges.
4. Remove from heat and cool completely before transferring to a freezer friendly container till firm around the edges (if you are using an ice cream maker, churn the ice cream according to the manufacturer’s instruction, after the mixture has cooled completely).
5. Remove from the freezer, beat till smooth and return to the freezer (do this 3-4 times and then set completely).
~~~~~~~~~~~~~~~~~~~~~~

Method:
1. Cut the Swiss rolls into 20 equal slices (approximately 2 cms each).
2. Cover the bottom and sides of the bowl in which you are going to set the dessert with cling film/plastic wrap.
3. Arrange two slices at the bottom of the pan, with their seam sides facing each other. Arrange the Swiss roll slices up the bowl, with the se am sides facing away from the bottom, to cover the sides of the bowl. Cover the bowl wi th plastic wrap and freeze till the slices are firm (at least 30 minutes).
4. Soften the vanilla ice cream. Take the bowl out of the freezer, remove the cling film cover and add the ice cream on top of the cake slices. Spread it out to cover the bottom and sides of the bowl. Cover the bowl with plastic wrap and freeze till firm (at least 1 hour).
5. Add the fudge sauce over the vanilla ice cream, cover and freeze till firm (at least an hour).
6. Soften the chocolate ice cream and spread it over the fudge sauce. Cover with plastic wrap and freeze for at least 4-5 hours till completely set .
7. Remove the plastic cover, and place the serving plate on top of the bowl. Turn it upside down and remove the bowl and the plastic lining (if the bowl does not come away easily, wipe the outsides of the bowl with a kitchen towel dampened with hot water - the bowl will come away easily).
8. Keep the cake out of the freezer for at least 10 minutes before slicing, depending on how hot your region is. Slice with a sharp knife, dipped in hot water.
~~~~~~~~~~~~~~~~~~~~~~
Etant donné la longueur du texte original, je n'ai malheureusement pas pu faire une traduction française de ce billet et je m'en excuse auprès de tous mes amis lecteurs et blogueurs francophones!C'est pourquoi je vous suggère de vous rendre sur le blog mentionné ci-dessous. Vous y trouverez cette recette en version française.
Chez Isa de "Les Gourmandises d'Isa" (Canada)
Chez Vibi de "La Casserole Carrée" (Canada)
0 comments:
Post a Comment